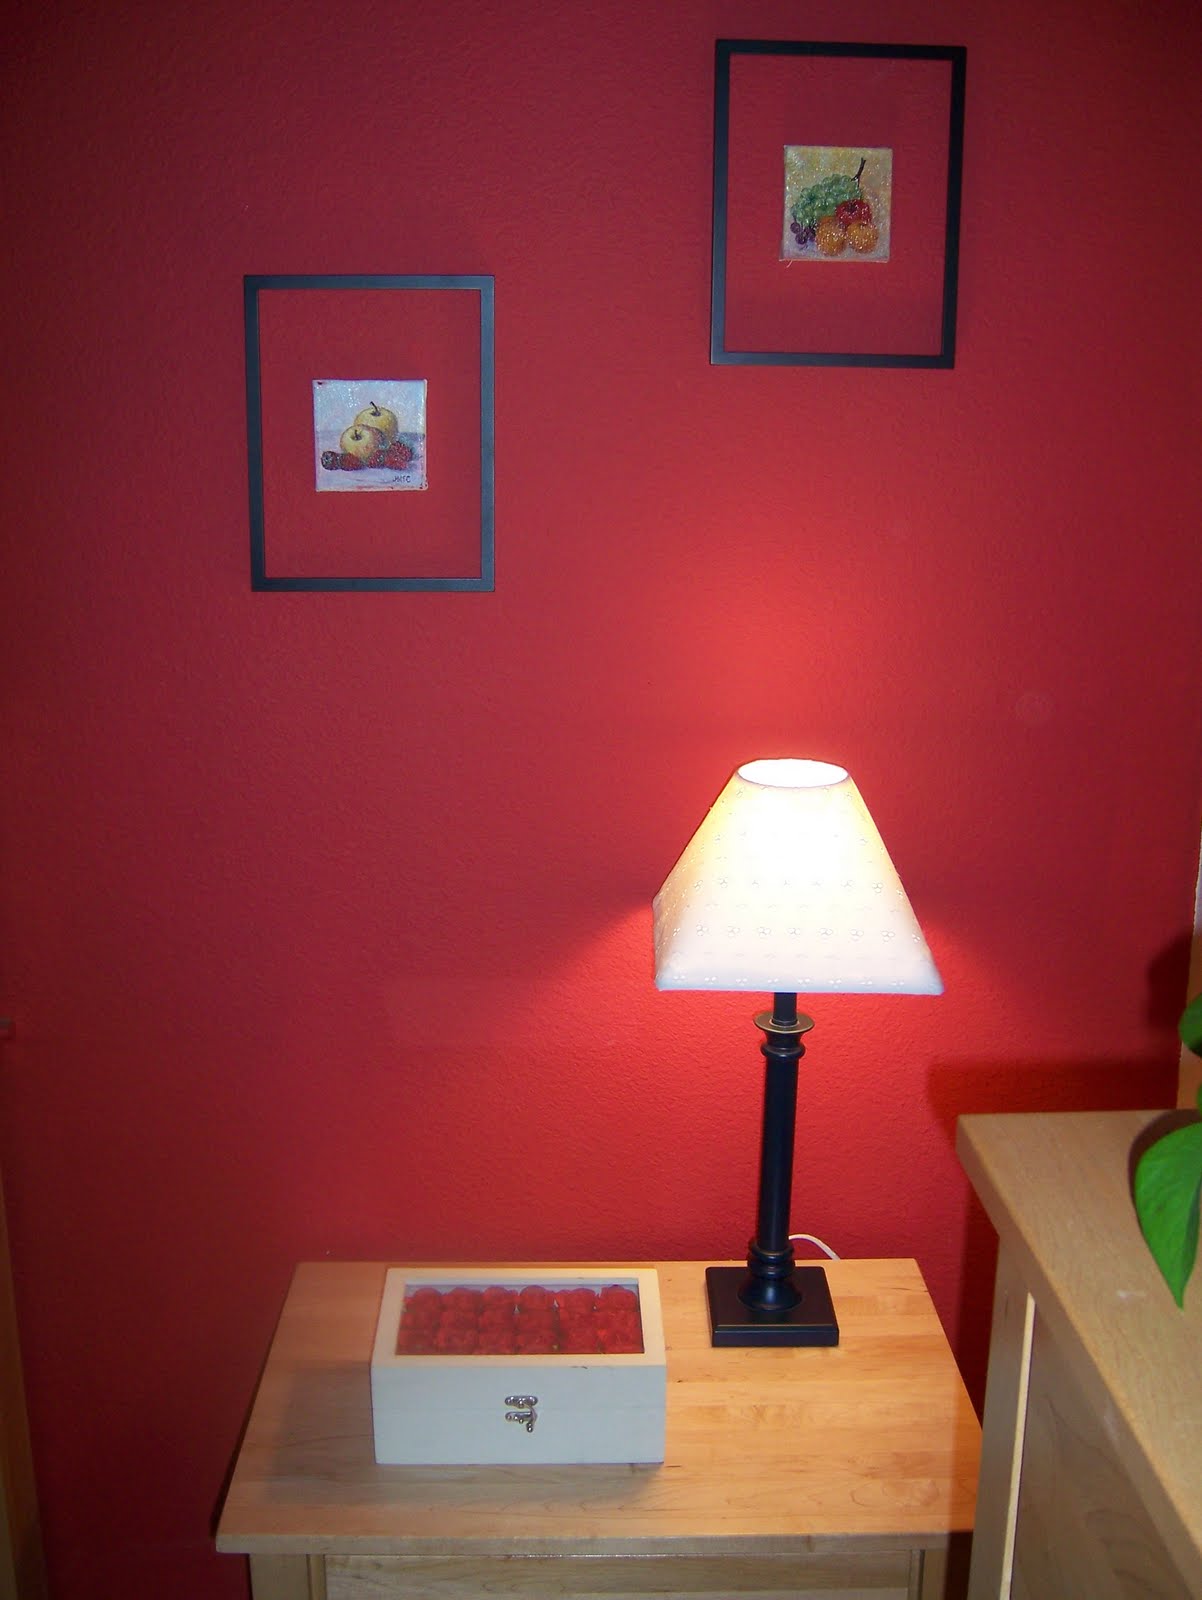
 Finally, a post! And surprisingly it's not about food. I've been doing a lot of decorating of my new room, well a lot of thinking about how I want to decorate. I've only begun doing a little bit :) To start I "framed" these two small paintings my Papa did back in '74. He was a wonderful artist in his younger years and now he has passed we are all acquiring his art. My mom is putting some up in our living room and I'll be hanging more soon. I've been invisioning this idea with the frames for so long now and I love how it turned out! It's so easy, Bianca and I did it in around 10 minutes.
DIY "Framing"
Step 1: Choose your art.
Step 2: Decide what frame style, color and size you want according to the wall and the art you chose.
Step 3: Take out back end of frame and anything else, all you want is the outside framing.
Step 3: Line the frames and paintings with double sided sticky tape.
Step 4: Using a tape-measure or just simply eye-ing it (like we did) decide where you want the frames and press down on all edges to make sure they stay.
The next idea I had was to cover this old lamp shade that's plain
 white with a fabric. Using hot glue this project was incredibly easy and it really makes the whole lamp so much cuter! A circular lamp shade would be much easier, the one I covered has four sides so it got a little tricky. Just take it very slow and luckily with hot glue you can always pull it off.
DIY Lamp Shade Covering
Step 1: Laying the fabric on top of the shade cute a huge circle out around the shade making sure you'll have plenty to cover it.
Step 2:
 Choose one end to start on, turn the shade upside down while holding the fabric in place and begin by hot glue-ing the fabric to the bottom rim.
Step 3: Going clockwise, do the same on the next rim.
Step 4: Now instead of continuing clockwise, go back and do the other side opposite the one you glued down in Step 3:
Step 5: A sort of cone may being to appear at the top now, you can cut it if there's too much extra fabric. On this last side of the shade You're going to cover with one end of the fabric like all the other sides, cut off any extra fabric at this point. Taking the other side of fabric now you want to go half way to the middle of the last side of the shade then fold about an inch under
 and glue down.
Step 6: Now for the top. In order to glue it under, you'll need to cut slits about 5 or 6 all the way around. Then simple glue the flaps down on the inside of the shade.
This is such a great and easy way to make a change to your room or to cover up an ugly lamp shade. My mom wants me to do this ugly old shade we have in our family room now!
Have fun,
<3 Dani

No comments:
Post a Comment